Hunting / Gear care
How to keep hunting gear dry
A practical packing system for rain, wet blinds, and boat rides—with dry layers ready when you need them.
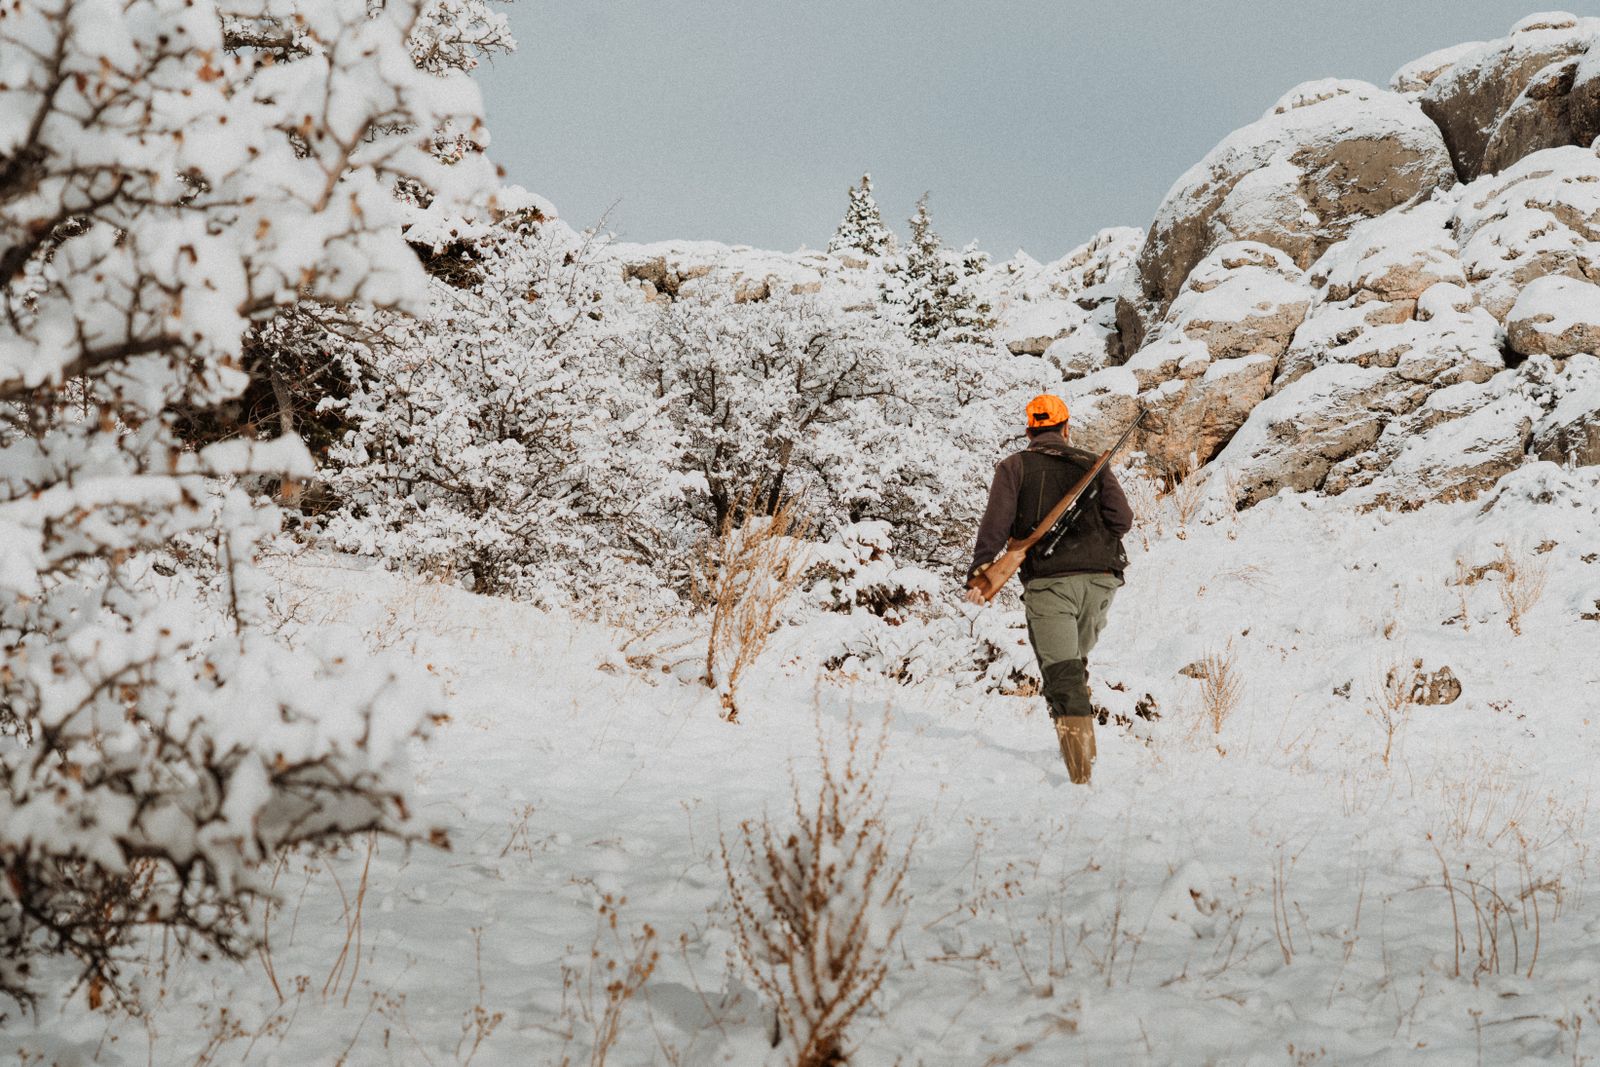
The problem often starts with something small: wet gloves dropped on spare socks, an open bag on a damp blind floor, or spray reaching a phone pocket. You do not have to waterproof every object equally. Build the packing plan around what must stay dry, what needs quick access, and what will come home wet.
Match the protection to the exposure
Rain falling on a pack, water sitting underneath it, and a bag going overboard are different problems. A rain cover can help shed rain without sealing the back panel, straps, or every opening. A water-resistant blind bag may organize your kit well without being designed for immersion.
Read the instructions for the complete bag, including its seams and closure. A waterproof fabric does not automatically make the whole product submersible. If immersion is a realistic possibility, choose storage explicitly rated for that exposure and follow its depth, duration, and closure limits.
| Group | What belongs here | Packing approach |
|---|---|---|
| Dry reserve | Spare socks, gloves, and an insulating layer | Closed dry bag inside your pack or secured storage |
| Electronics | Phone, spare batteries, power bank | Separate protective storage suited to the expected water exposure |
| Working gear | Items you use repeatedly during the hunt | Accessible pockets; keep them away from the dry reserve |
| Wet return | Damp gloves, muddy straps, wet clothing | Separate bag for transport, emptied promptly at home |
1. Pack the dry change first
Lay out the spare clothing you expect to need before choosing the bag size. A pair of socks and thin gloves take far less room than a bulky jacket. Pack everything completely dry, then check that the closure still has the space it needs. A bag stuffed to the brim may hold the clothes but fail to close correctly.
Keep the reserve as one recognizable bundle. When you reach into your pack, you should know which bag contains the dry change without opening several containers. Put snacks, tools, and frequently used accessories somewhere else so you are not repeatedly exposing the clothing to rain.
For a walk-in hunt, bring the spares you may need before returning to the vehicle. A change left in the truck is useful afterward, but it does not help you at a distant blind. For the rest of the kit, start with our morning duck-hunt packing checklist.
2. Close the bag carefully—and keep it closed
Before packing, check the fabric, seams, buckle, and closure for damage or grit. Follow the maker’s closing instructions rather than guessing how many rolls are enough. Keep clothing and straps out of the seal, and do not force an overfilled bag shut.
Open your reserve under shelter when possible. Wipe water off the outside before reaching in, and keep wet sleeves and gloves away from the opening. Close it again immediately after removing an item. Those small habits matter even when the bag itself is doing its job.
A clothing-storage option: Sea to Summit Big River 13L
The Big River uses durable 420D nylon, taped seams, and a roll-top closure. The linked 13-liter Jet Black version is an option for spare clothing, provided your actual layers fit with room for the closure. Sea to Summit’s listed packed dimensions use the top rolled three times. The manufacturer advises avoiding submersion because water can enter through the roll-top.
This is a researched option, not a Timberwake field-tested recommendation. Check the packed fit at home; 13 liters is not a promise that every hunter’s winter layers will fit.
As an Amazon Associate I earn from qualifying purchases.
3. Give electronics their own protection
Do not make your spare-clothing bag the only protection for a phone or power bank. Electronics deserve a separate pouch or case selected for the conditions. Sea to Summit cautions that roll-top dry bags are not intended as dependable protection during submersion; its electronics guidance recommends additional protection in very wet environments.
Check the case’s instructions and inspect its seal before use. Make sure you can operate the phone when needed, and keep it accessible without leaving it exposed to spray. Carry cables separately from wet equipment. If a device or connector gets wet, follow the device manufacturer’s drying instructions before connecting power.
A protective case is also not a retrieval plan. Decide where the device will sit during a boat ride and how it will stay there, rather than balancing it on a seat or loose gear.
A hard-case option: Pelican M50 Micro Case
For small electronics and valuables, the M50 adds a rigid case with an O-ring seal and dual latches. Pelican rates it IP67: submersion to 1 meter for up to 30 minutes under its testing conditions. Keep the gasket clean and close both latches correctly.
The interior measures 7.30 × 4.30 × 2.40 inches. Measure your phone with its everyday case, or your power bank and cables, before buying; do not assume everything fits together. The linked option is Blue/Clear. This is a researched product option, not one we have field-tested for this article.
As an Amazon Associate I earn from qualifying purchases.
4. Set up a dry spot in the blind or boat
Choose where your bag will go before unpacking. Avoid standing water and places where wet decoys or muddy boots will be piled on it. Keep the dry reserve inside its closed protection, even when the weather looks clear.
On a boat, secure gear in an appropriate stowage location so it cannot slide around. Keep straps tidy and walking areas clear. Position the items you need within reach instead of repeatedly shifting the entire load. A sealed bag should never be treated as a flotation device.
In a blind, make one side the working area and another the dry-storage area. Use a separate pair of gloves for wet handling tasks if that suits your kit, then keep those gloves outside the spare-clothing bag.
5. Make a plan for the wet gear coming home
Carry an empty bag for damp clothing and muddy accessories. Its job is to separate wet items during the trip back, not to store them until next weekend. Do not put a damp glove into the dry reserve just because there is room.
At home, unpack the wet bag and every damp pocket. Follow each item’s care label. Sea to Summit advises hand-cleaning its dry bags with mild soap when needed, rinsing, and air-drying; it warns against putting taped-seam dry sacks in a dryer. Let the inside and outside dry fully before storage.
Check the bag again while it is empty. Look for worn areas where hard objects have rubbed, damaged seams, or a closure that no longer works smoothly. Replace or repair damaged protection according to its manufacturer’s guidance before the next outing.
The five-minute packing check
- Dry: are the spare clothes completely dry before packing?
- Closed: is there enough room to seal every protective bag correctly?
- Separate: do electronics and wet return gear each have their own place?
- Accessible: can you reach the important items without unloading the bag?
- Reset: will you unpack and dry everything after the hunt?
Start with the storage you already own. Improve the weak point you actually have—an exposed phone, an overfilled dry bag, or wet gloves mixed with spare layers—before buying a whole new setup.
Sources and editorial notes
Reviewed October 14, 2026. Packing suggestions are editorial guidance; follow the care instructions and water-protection limits of your own equipment.
- Pelican: M50 specifications and IP67 limits
- Sea to Summit: Big River specifications and submersion limitations
- Sea to Summit: packing electronics
- Sea to Summit: cleaning and storing gear
Related: Keep your feet warm while hunting · What to pack for a morning duck hunt · Choose a hunting pack for your hunt
Recording wildlife through your optics? Read our OLLIN Snapshot buying and setup guide.