Hunting / General gear
OLLIN Snapshot: a better phone-to-scope setup for hunting
Spend less time lining up your phone and more time watching wildlife. Here’s what to buy, how the pieces fit, and how to set up OLLIN’s magnetic digiscoping system.
Why this system belongs on a hunter’s shortlist
Digiscoping means taking a photo or video through an optic with your phone. The awkward part is getting the camera centered over the eyepiece—and keeping it there while the animal you want to record moves.
The Snapshot Spotter Adapter pairs an optic-specific mount with a magnetic phone interface. OLLIN’s self-centering design is intended to bring the camera back into alignment when you reconnect it. That makes it an appealing choice for hunters who repeatedly switch between glassing and recording.
Our recommendation: put OLLIN high on your list if convenient, repeatable attachment matters more than a universal fit. We haven’t conducted a hands-on comparison of every competing adapter, so this is a researched buying guide, not a tested “best overall” award.
The tradeoff is committing to compatible parts. Budget for the complete system, check availability for your phone, and consider whether a future phone upgrade would mean buying another case.
What you actually need
This guide contains affiliate links. As an Amazon Associate I earn from qualifying purchases.
For spotting scopes
Snapshot Spotter Adapter — Size 03
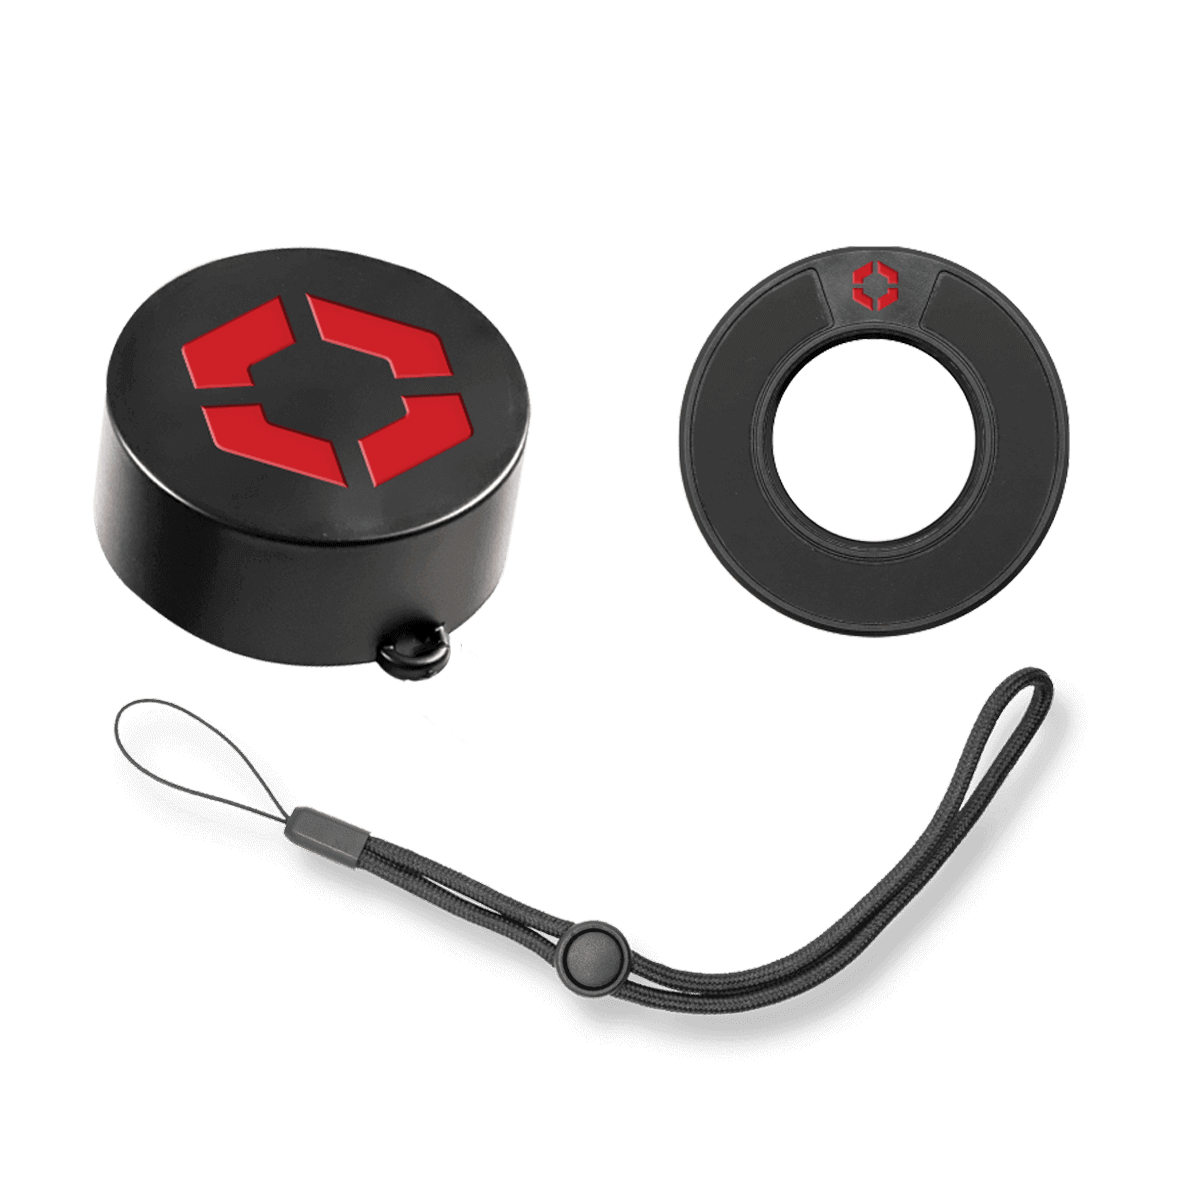
The linked option is Size 03, not a universal adapter. Confirm your exact optic and eyepiece match that size before ordering. The Spotter product includes an adapter, protective cap, and tether; the phone interface is separate.
View on AmazonFor binoculars
Snapshot Bino Adapter
Choose the version for your exact binocular model. This is an alternative optic-side attachment for recording through binoculars; it does not replace the phone case or tab. OLLIN describes it as removable for storage in a pouch or pocket after use.
View on AmazonFor your phone
Snapcase or Magnetic Tab
A phone-specific Snapshot Snapcase is the simpler starting point: its magnetic interface is already positioned over the default camera. Select your exact phone model; similar-looking phones are not a reliable fit check.
If a suitable Snapcase isn’t offered, the OLLIN Snapshot Magnetic Tab offers a DIY route on a compatible third-party case. OLLIN does not guarantee compatibility with every case. Check camera clearance, a flat mounting surface, and the tab version before buying.
These OLLIN links are direct manufacturer links. Check current options and availability there. Don’t substitute an ordinary magnetic phone ring and assume it will align the camera correctly.
Check the fit before checkout
Write down the full name of your scope or binoculars, including model generation and eyepiece details. Then use OLLIN’s adapter fitment charts and the product selector to confirm the match. A familiar brand name or the same objective diameter is not enough.
If the exact combination is missing, ask OLLIN to confirm it before ordering. Check the selected variant again in your shopping cart. For the Size 03 link above, the size is the buying condition—not a recommendation for every reader’s scope.
How to set it up properly
1. Prepare the optic
Set up a stable tripod, find a stationary subject, and focus through the scope by eye. Begin at a modest magnification so locating the subject is easier. Do the first setup at home or during a quiet scouting session.
2. Fit the correct optic adapter
For OLLIN’s standard compression-fit adapter, orient the logo toward the top of the optic, keep the faces parallel, and press straight down with even palm pressure until seated flush. Do not twist it on or off. Some models use a clamp instead; follow the installation video for your adapter.
3. Prepare the phone side
Fit the matching Snapcase, or follow the Magnetic Tab procedure below. A Snapcase already positions its interface over the intended camera, avoiding the DIY alignment step.
4. Connect and check the view
Support your phone while bringing the magnetic interfaces together. Open the camera and check that the image is centered. Stay on the aligned lens; automatic lens switching can produce a black screen.
5. Make a short test recording
Check the clip before relying on the setup. If it is soft, check focus, lens cleanliness, and vibration. Use a timer or remote release to avoid shaking the rig when taking a photo.
6. Disconnect before moving
Remove the phone before relocating the tripod or adjusting its legs. Snapshot’s magnetic connection is not a mechanical lock.
Installing the Magnetic Tab
Use OLLIN’s illustrated installation instructions alongside these steps:
- Check that the case provides a clean, flat adhesive surface and that the tab clears the camera lenses and raised case edges. If it cannot sit correctly, choose another case.
- Identify the active camera in the camera app by covering lenses individually. The lens that blocks the preview is the one you are viewing through.
- Dry-fit the tab before exposing the adhesive. Follow OLLIN’s diagram for trimming adhesive that extends into the camera opening.
- Clean the case, remove the adhesive backing, center the tab opening over the chosen lens, and keep its edges parallel with the case. Lower it carefully and press firmly.
Follow any additional instructions supplied with your current tab and adhesive. Accurate placement matters: the magnetic connection cannot correct a tab attached over the wrong lens.
Using the binocular attachment
The Bino Adapter gives you a way to record with optics you may already carry. Select the matching binocular version and pair it with the same compatible Snapshot phone interface. The manufacturer lists the Bino Adapter separately from the Snapcase.
Practice attaching it before a trip, support the binoculars steadily, and check the recorded image rather than judging only from the live preview. A magnified view makes hand movement more obvious. Remove and store the Bino Adapter after use, following OLLIN’s guidance.
A quick troubleshooting check
- Black screen after zooming: return to the aligned camera lens and lock lens selection if your camera app permits it.
- Dark circle at the edges: some vignetting is normal. Try a slight crop or modest camera zoom.
- Shaky footage: let the setup settle and avoid touching it during the recording.
- Adapter won’t seat: stop and verify the exact fit rather than forcing it.
Who should choose OLLIN?
It makes the most sense for someone who already owns compatible optics and expects to record regularly. The attraction is a repeatable setup that is ready when an interesting moment appears.
For an occasional photo, weigh the full adapter-and-phone-interface cost against how often you will use it. If your phone or optic is unsupported, resolving that fit question comes before choosing a brand.
Before your next trip, run through the entire routine: mount, focus, record, review, and remove. A familiar setup is more useful than an accessory you are still figuring out in the field.