Getting Ready for Ice Fishing: A First-Trip Gear Checklist
Get ready for ice fishing with a practical checklist covering ice conditions, rods, augers, warm layers, rod holders, portable heaters, and insulated shelters.
By Dexton Gerber · November 6, 2026
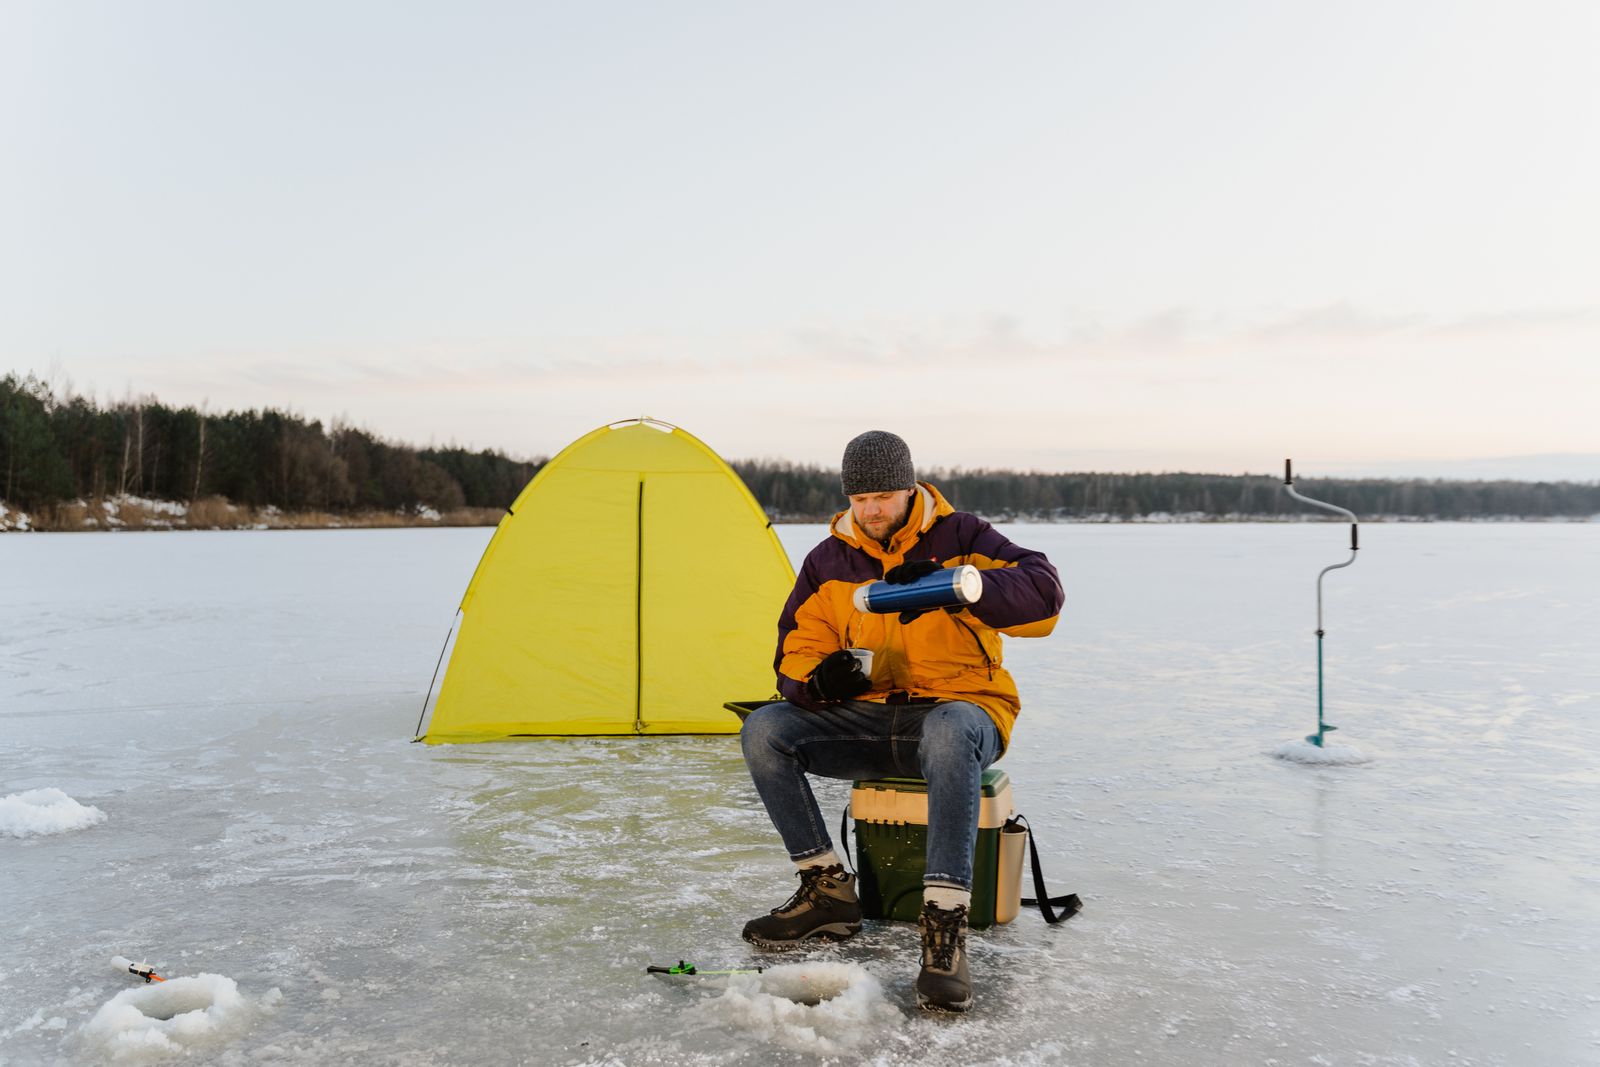
The first ice-fishing trip of the season is a bad time to discover dull auger blades, a dead battery, or a shelter with missing anchors.
You don’t need to buy an entirely new setup every winter. Start by checking what you already own, replacing what’s worn out, and packing for the conditions you’ll actually face. A rod holder, insulated shelter, and portable heater can make a day more comfortable—but checking the ice comes first.
Start with conditions, not the calendar
A few freezing nights don’t mean a lake is ready. Snow can hide weak spots, and ice thickness can change over a short distance. Check recent reports from local fisheries staff, land managers, and nearby tackle shops. Ask about the specific access point and area you plan to fish.
Minnesota DNR’s guidance says to wait for at least four inches of new, clear ice before considering travel on foot. This is a guideline, not a guarantee, and it does not apply to every type of ice. No ice is completely safe. Measure repeatedly along your route; stay away from areas affected by current, springs, inlets, and outlets. This guide is for walk-out trips, not vehicle travel.
For walking on ice, wear appropriate flotation, keep ice picks accessible, and carry a throw rope, ice cleats, and equipment to check thickness. Go with someone and leave your route and return time with a person at home. Read the DNR’s ice-safety gear guidance before your trip. A spud bar is useful for checking as you move; it does not replace measuring thickness.
Check your rods, reels, and line at home
Pull your ice rods out before the morning of your trip. Inspect rod tips and guides for damage. Turn each reel handle, check the drag, and look over the line for abrasion or severe memory. Replace damaged line and retie old knots.
Match your setup to the fish you’re targeting. A light panfish rod and tiny jig serve a different purpose than a heavier setup for larger trout or walleye. Keep the first tackle box manageable: a few suitable jigs, spoons, spare hooks, and the terminal tackle you actually use. Add more after you learn what works on your water.
Check the auger and charge your batteries
Inspect auger blades, mounting hardware, and the blade guard. Follow the manufacturer’s maintenance instructions, and leave the guard in place during transport.
Charge the batteries for your auger, fish finder, and other electronics within their specified temperature limits. Check battery condition rather than assuming last season’s charge indicator tells the whole story. Pack an ice scoop where you can reach it easily—it’s an annoying item to forget once holes start collecting slush.
Three optional upgrades for your ice-fishing setup
These are products to compare for specific jobs, not equipment every beginner must buy. This is a preparation guide, not a hands-on product test. Start with safety equipment and your basic fishing setup before adding comfort items.
As an Amazon Associate I earn from qualifying purchases.
Brocraft ice-fishing rod holder: give your rod a place to sit
A rod holder gives you somewhere to put a rod while changing tackle or fishing a stationary bait. The Brocraft Ice Fishing Rod Holder is one option to compare.
Brocraft sells several styles. Check the linked listing’s base, mounting requirements, and rod-handle fit before ordering. For a walk-out setup, prioritize stability, easy rod removal, and compact storage. Keep rods attended and check local rules for the number and types of lines you can use.
Eskimo QuickFish 3i: an insulated shelter for longer sits
Open your shelter at home and check the poles, hubs, seams, zippers, and anchor points. Count the anchors and tie-downs, and practice packing everything back into its bag.
If you’re shopping for an insulated shelter, the Eskimo QuickFish 3i Insulated Ice Fishing Shelter has insulated fabric, 34 square feet of fishable area, and included ice anchors and a carry bag, according to Eskimo’s specifications.
Think about the space occupied by chairs, holes, tackle, and heater clearances—not just how many people can fit inside. The QuickFish 3i is the insulated version; don’t confuse it with the non-insulated QuickFish 3. Practice anchoring the shelter according to its instructions before fishing in wind.
Mr. Heater Portable Buddy: plan placement and ventilation first
The Mr. Heater Portable Buddy MH9BX Propane Heater is a heater option to consider for a compatible shelter. Check the exact model’s instructions and your shelter’s guidance before using them together.
A propane heater needs fresh air. Never seal a shelter to trap heat, and don’t treat a heater’s safety shutoff as a replacement for ventilation. Follow the specified clearances and keep clothing, tackle bags, and shelter fabric away from it.
Place it on a stable surface and turn it off before sleeping or leaving it unattended. Use only approved fuel connections and accessories. Read the manufacturer’s product information and operating manual for your model. Your clothing and exit plan should still work if the heater stops running.
Dress for sitting, not just walking
Pulling a sled can make you warm quickly. Sitting over a hole is different. Wear layers you can adjust on the walk out, then add insulation when you stop. Bring wind protection, insulated boots, a warm hat, and spare dry gloves.
Pack spare socks and clothing in a waterproof bag. Wet hands are common when handling fish, bait, and slush, so a second pair of gloves deserves an easy-to-reach spot.
Bring a headlamp even if you expect to finish before dark. Short winter days, a slow bite, or packing up a shelter can push your return later than planned. Test it beforehand and bring backup power or a second light.
Organize the sled around what you need first
Keep your ice-checking equipment and safety gear accessible while traveling. Don’t bury them beneath a folded shelter. Pack heavy gear low and secure loose items. Protect rods from being crushed, cover auger blades, and separate sharp tackle from shelter fabric.
Before leaving home, confirm access, parking, fishing regulations, bait restrictions, and the forecast. Download a map if phone service is unreliable. For Idaho trips, check Idaho Fish and Game for current fishing information and water-specific rules.
First-trip ice-fishing checklist
Conditions and safety
- Recent local conditions and weather checked
- Fishing license and water-specific rules checked
- Trip plan shared with someone at home
- Appropriate flotation, accessible ice picks, and ice cleats
- Throw rope, ice-checking equipment, and tape measure
- Charged phone in a waterproof case
Fishing equipment
- Rods, reels, line, and knots checked
- Tackle and permitted bait packed
- Auger inspected and blade guard fitted
- Batteries charged according to manufacturer instructions
- Ice scoop, pliers, and rod holder packed
Comfort and shelter
- Adjustable layers, insulated boots, and warm hat
- Spare dry gloves and socks
- Headlamp and backup power
- Water and food
- Shelter, anchors, and tie-downs checked
- Heater and approved fuel setup, if bringing one
Get the equipment ready before the weather window arrives. When conditions are suitable, you can spend the morning fishing instead of sorting through a pile of gear at the access point.